 下拉式登录在大部分商店中并不常用,但在一些情况下它会是一个很有用的用户体验功能。 在这篇教程中,我将讲解在magento中如何在几分钟内创建这么一个下拉式登录框,让用户可以不用打开另外链接页面直接登陆。 打开你的magento网站路径app/design/frontend/base/default/layout/customer.xml 并加入以下高亮代码 <customer_logged_out> <!---<reference name="right"> <block type="customer/form_login" name="customer_form_mini_login" before="-" template="customer/form/mini.login.phtml"/> </reference>--> <reference name="top.links"> <action method="addLink" translate="label title" module="customer"><label>Log In</label><url helper="customer/getLoginUrl"/><title>Log In</title><prepare/><urlParams/><position>100</position></action> <block type="core/template" name="customer_form_mini_login" before="-" template="customer/form/mini.login.phtml"/> </reference> <remove name="reorder"></remove> </customer_logged_out> </pre> 打开你的magento网站路径 app/design/frontend/base/default/template/page/template/links.phtml并添加一下高亮代码:
<?php $_links = $this->getLinks(); ?>
<?php if(count($_links)>0): ?>
<ul class="links"<?php if($this->getName()): ?> id="<?php echo $this->getName() ?>"<?php endif;?>>
    <?php foreach($_links as $_link): ?>
        <?php if ($_link instanceof Mage_Core_Block_Abstract):?>
            <?php echo $_link->toHtml() ?>
        <?php else: ?>
            <ligetIsFirst()||$_link->getIsLast()): ?> class="getIsFirst()): ?>first<?php if($_link->getIsLast()): ?> last<?php endif; ?>"<?php endif; ?> <?php echo $_link->getLiParams() ?>><?php echo $_link->getBeforeText() ?><a href="<?php echo $_link->getUrl() ?>" title="<?php echo $_link->getTitle() ?>" <?php echo $_link->getAParams() ?>><?php echo $_link->getLabel() ?></a><?php echo $_link->getAfterText() ?>
                <?php if($_link->getIsLast()): ?>
                    <?php echo $this->getChildHtml('customer_form_mini_login'); ?>
                <?php endif; ?>
            </li>
        <?php endif;?>
    <?php endforeach; ?>
</ul>
<?php endif; ?>
最后打开你的magento网站路径app/design/frontend/base/default/template/customer/form/mini.login.phtml 同样的copy下面代码.
<style>
	#dropdown
	{
		position: absolute;
		top: 70px;
		right: 20px;
		visibility: hidden;
		float:right;
	}
	.last:hover #dropdown
	{
		visibility: visible;
	}
</style>
<div class="block block-login" id="dropdown">
	<div class="block-title">
		<strong><span><?php echo $this->__('Login') ?></span></strong>
	</div>
	<form action="<?php echo $this->getUrl('customer/account/loginPost') ?>" method="post">
		getBlockHtml('formkey'); ?>
		<div class="block-content">
			<label for="mini-login"><?php echo $this->__('Email:') ?></label><input type="text" name="login[username]" id="mini-login" class="input-text" />
			<label for="mini-password"><?php echo $this->__('Password:') ?></label><input type="password" name="login[password]" id="mini-password" class="input-text" />
			<div class="actions">
				<button type="submit" class="button"><span><span><?php echo $this->__('Login') ?></span></button>
			</div>
		</div>
	</form>
</div>
就是这样!当鼠标移到头部菜单“Log In”上时,你的magento网站顶部登录框就会出现。
这里值得记下的是:我们对Magento默认的mini登陆模板文件mini.login.phtml进行了一些修改让他在首页显示。 我们也用core/template块代替了customer/form_login。这么做的原因是让页面标题“Customer login”能在所有页面显示。 作为使用多个块的缺点,现在我们不能使用customer/form_login块中的方法。这就是我们使用$this->getUrl(‘customer/account/loginPost’)方法来替代$this->getPostActionUrl()的原因。 你有一个形式存在的表关键字也是很重要的,否则你的表格将不会得到处理。
<code><?php echo $this->getBlockHtml('formkey'); ?></code></pre>
最好要说的就是让magento的前端开发者(也许就是你?)好好地利用下拉式登录。 (责任编辑:最模板) |
如何创建magento下拉式的登陆框效果
时间:2017-01-03 11:03来源:未知 作者:最模板 点击:次
下拉式登录在大部分商店中并不常用,但在一些情况下它会是一个很有用的用户体验功能。 在这篇教程中,我将讲解在magento中如何在几分钟内创建这么一个下拉式登录框,让用户可以不

顶一下
(0)
0%
踩一下
(0)
0%
------分隔线----------------------------
- 热点内容
-
- Magento无法发送邮件的解决过程
情况一:在默认情况下Zend抛出的异常 2013-07-11T02:19:29+00:00 ERR (...
- 如何扩展Magento核心控制器
将演示如何在不弄乱核心文件本身的前提下编辑Magento核心模块。...
- 在本地用xampp主机上安装 Magento 2.
如你所知,Magento 2.0 Alpha 版本已被释放,在 2015 年 12 月,当然,...
- Magento集成css文件到页面文件中
Magento的CSS文件一般存放到 $MAGENTO_INSTALLED_FOLDER/skin/{frontend | adm...
- magento判断当前页面是否是首页
在magento使用过程中,有时候需要做一些页面判断的事情,譬如:...
- Magento无法发送邮件的解决过程
- 随机模板
-
-
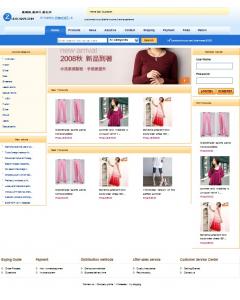 蓝色幻想英文外贸ecshop模
人气:661
蓝色幻想英文外贸ecshop模
人气:661
-
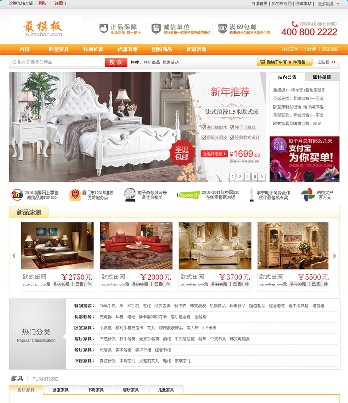 ecshop家具模板|家具商城程
人气:418
ecshop家具模板|家具商城程
人气:418
-
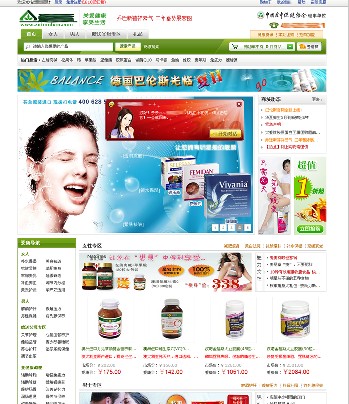 ecshop健康用品商城带分销
人气:2580
ecshop健康用品商城带分销
人气:2580
-
 ecshop专业汽车用品英文外
人气:1021
ecshop专业汽车用品英文外
人气:1021
-
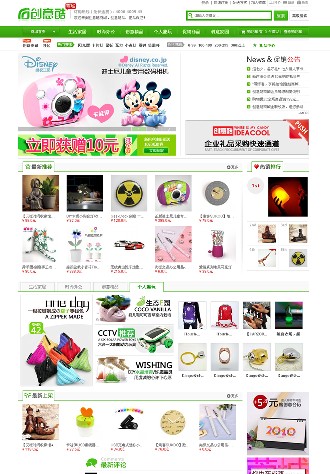 ecshop 仿创意酷精品商城
人气:444
ecshop 仿创意酷精品商城
人气:444
-
 中英俄多语言代购国内商
人气:908
中英俄多语言代购国内商
人气:908
-